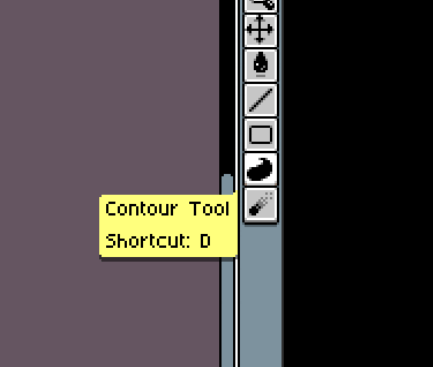
Like so many other pixel artists, there’s in me a deep fondness for Aseprite as a drawing program. However, one of my personal reasons is the existence of a single feature that forever transformed my workflow: the Contour Tool. It did it in such a way, in fact, that it’s very difficult for me to not miss it whenever I try any other drawing software that doesn’t feature a similar tool.
So what is the Contour Tool in Aseprite? It simply allows you to quickly free-hand a shape that will automatically fill with a previously selected color. It might take a bit of effort to get used to but easily becomes incredibly useful in various steps of the drawing process. For example, not only it allows to swiftly layout silhuettes in the early sketch phase, speeding up composition (great for thumbnail studies) but also helps on the coloring process, accelerating the blocking of the main colors before jumping into detailed rendering.
On my own process, I use it all the time, from sketch phase to color rendering and linework. I’m hooked on how fluid it makes the whole process, without me getting too stuck into the pixel by pixel hyperfocus that I find myself getting obsessed with over and over. A less controlled way of drawing that is more about gesture than perfectly calculated pixel management.
Below is a quick example of how I go about exploring shapes with the Contour Tool to build a silhuette, in this case a tree, that will serve as the first step on a pixel drawing.
For those who use Aseprite, what are your thoughts on the Contour Tool? Is it part of your process, and if so, how do you use it?
Leave a comment